
Discover the joy of setting up a worm compost bin! Dive into our guide for a greener lifestyle, turning waste into nutrient-rich soil for your garden.
Ever thought about setting up a worm compost bin? It’s not just about reducing waste or creating nutrient-rich soil for your garden.
It’s about embarking on a fascinating journey, where you’ll witness the magic of nature right in your backyard.
So, let’s dive in and explore the wonderful world of worm composting together!
Setting Up a Worm Compost Bin
Welcome to the world of worm composting! If you’re considering setting up a worm compost bin, you’re in the right place.
In this comprehensive guide, we’ll delve into everything you need to know from the environmental benefits of worm farming to the nitty-gritty of maintaining your compost bin.
We’ll also cover options for buying a ready-made bin or building your own, and even tackle some common questions.
So, whether you’re a seasoned gardener or just starting out, let’s embark on this eco-friendly adventure together!
Importance of Composting
Composting is like a secret superpower we all have but few of us use. It’s a simple act that can have a profound impact on our environment.
By composting, we’re not just reducing the amount of waste that ends up in landfills, but we’re also creating a rich, organic material that’s a boon for any garden. It’s a win-win situation, really!
Brief Overview of Worm Composting
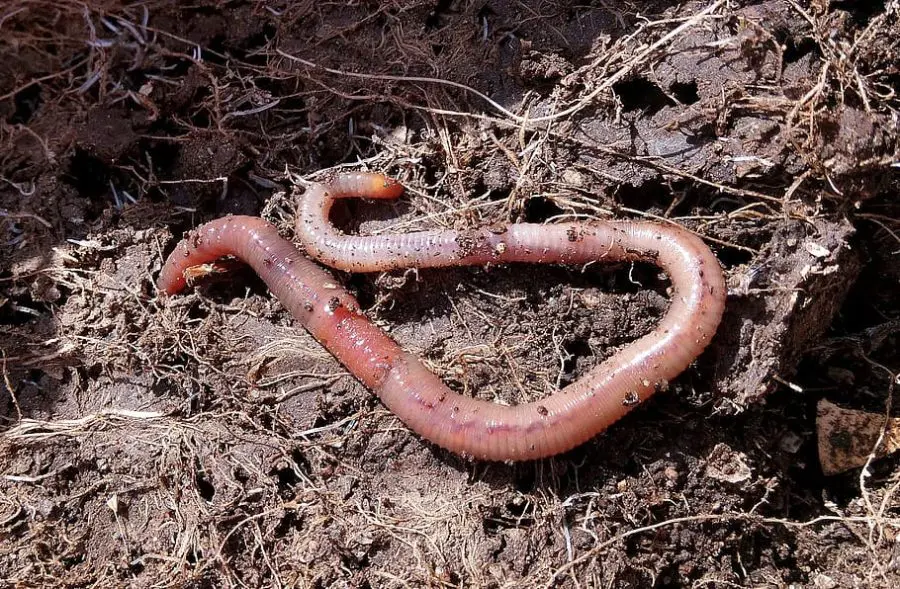
Now, let’s talk about worm composting, or as the experts call it, vermicomposting.
It’s a natural process where our little wriggly friends, the worms, help break down organic waste into nutrient-rich compost.
It’s like having your personal team of garden helpers working tirelessly to provide you with the best quality compost.
Worm Composting Can Be Done Indoors
One of the best things about worm composting is that it doesn’t require a big backyard or a garden.
You can do it right inside your home! Yes, you heard it right.
A worm compost bin doesn’t take up much space, doesn’t smell if managed correctly, and can be kept indoors.
It’s a perfect composting solution for all seasons.
Great for Apartment Dwellers
If you’re living in an apartment and thinking, Composting is not for me, let me tell you, worm composting is going to change your mind.
It’s compact, odorless, and can be done indoors, making it perfect for apartment living.
Plus, it’s a great conversation starter when you have guests over. Imagine their surprise when they find out you have a worm farm in your apartment!
Reasons to Get a Worm Farm

Have you ever considered getting a worm farm? If not, let me share a few reasons why you might want to give it a thought.
A worm farm is more than just a home for worms. It’s a powerful tool that can help you lead a more sustainable lifestyle, right from your home.
Intrigued? Let’s delve into the reasons why a worm farm could be a fantastic addition to your life.
Environmental Benefits
Starting a worm farm is like giving a high-five to Mother Nature. It’s one of the most eco-friendly activities you can engage in.
Why, you ask? Well, worm composting helps reduce the amount of organic waste that ends up in landfills.
This waste, when decomposed in landfills, releases methane, a potent greenhouse gas.
By composting, you’re reducing methane emissions and contributing to a healthier planet.
Nutrient-Rich Fertilizer Production
Your worm farm is not just a waste management system. It’s also a mini fertilizer factory!
As the worms munch on your kitchen scraps, they produce worm castings a fancy term for worm poop.
But don’t be put off by that; worm castings are a nutrient-dense, organic fertilizer that plants absolutely love.
It’s rich in nitrogen, phosphorus, and potassium, the essential nutrients for plant growth.
So, with a worm farm, you’re not just disposing of waste; you’re creating black gold for your plants!
Waste Reduction
Did you know that about 30% of what we throw away are food scraps and yard waste?
That’s a lot of waste that could be turned into valuable compost instead.
With a worm farm, you can turn your kitchen scraps, like fruit and vegetable peels, coffee grounds, and eggshells, into nutrient-rich compost.
It’s an effective way to reduce the amount of waste you produce and make a positive impact on the environment.
Plus, it’s incredibly satisfying to see your waste being turned into something useful!
Buying a Worm Composting Bin

Are you ready to dive into the world of worm composting but not quite sure where to start?
Buying a ready-made worm composting bin could be a great first step.
It’s like getting a starter kit for your new eco-friendly hobby. Let’s explore why buying a worm composting bin might be the right choice for you and how it can make your worm composting journey smoother.
Buying a Worm Bin

If you’re new to worm composting, buying a ready-made worm bin can be a great way to get started. I have a worm factory 360 and love it. It’s compact, easy to use, and doesn’t smell at all.
These bins are designed with all the features necessary for successful worm composting, such as ventilation, drainage, and easy access for feeding your worms and harvesting compost.
They come in various sizes, so you can choose one that fits your needs and space.
Worm Farm 360 with Stackable Trays
One popular option is the Worm Farm 360. This worm bin stands out with its stackable tray system.
As you add more kitchen scraps, you simply add more trays. The worms migrate upwards towards the new food source, leaving behind their valuable castings in the lower trays.
This design makes it easy to harvest the compost without disturbing the worms.
Advantages of Buying
Buying a worm bin has several advantages.
First, it saves you the time and effort of building a bin yourself.
Second, these bins are designed for optimal worm health and composting efficiency.
They have the right balance of ventilation and moisture control, and they’re made from durable, recycled materials.
Lastly, many come with a guidebook to get you started on your worm composting journey.
How it Works
A worm bin works by providing a controlled environment for worms to consume organic waste and produce compost.
You start by adding bedding (like shredded newspaper or coconut coir) and worms to the bin.
Then, you add your kitchen scraps. The worms eat the scraps and bedding, turning them into nutrient-rich compost.
The design of the bin allows for easy feeding and harvesting of the compost.
It’s a simple, yet effective system for turning waste into a valuable resource.
Building a DIY Worm Bin
If you’re the kind of person who loves a good DIY project, then building your own worm bin might be right up your alley.
It’s a hands-on way to start your worm composting journey, and it gives you the flexibility to design a bin that fits your specific needs.
Plus, it’s a fun project that can be done on a weekend. So, let’s roll up our sleeves and get into the nitty-gritty of building a DIY worm bin!
Necessary Materials and Tools
Building a DIY worm bin doesn’t require any fancy equipment. Here’s what you’ll need:
Two plastic bins: These will serve as your worm home and drainage collector.
The bins should be dark (not transparent) to keep the worms comfortable as they prefer dark environments.
A drill: You’ll need this to create ventilation and drainage holes.
Bedding material: This can be shredded newspaper, cardboard, or coconut coir. It provides a comfortable habitat for the worms.
Composting worms: Red wigglers are the most commonly used worms for composting.

Kitchen scraps: Your worms need to eat, after all!
Step-by-Step Process
Adding Drainage and Ventilation
First, drill several holes in the bottom of one of your bins for drainage. This bin will be placed inside the other bin, which will collect any excess moisture.
Next, drill some holes in the lid of your worm bin for ventilation. Worms need oxygen to live and these holes will ensure they get plenty.
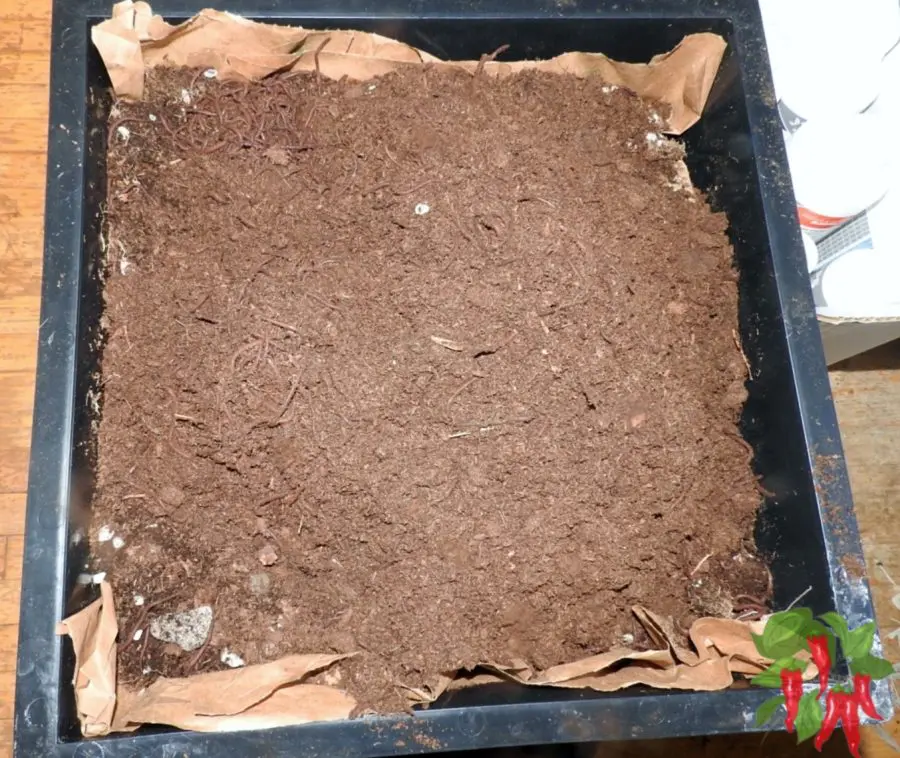
Preparing the Bin for Worms
Now, it’s time to make your worms feel at home. Add your bedding material to the bin, making sure it’s moist but not soggy.
Then, add your worms. They’ll start burrowing into the bedding material almost immediately.
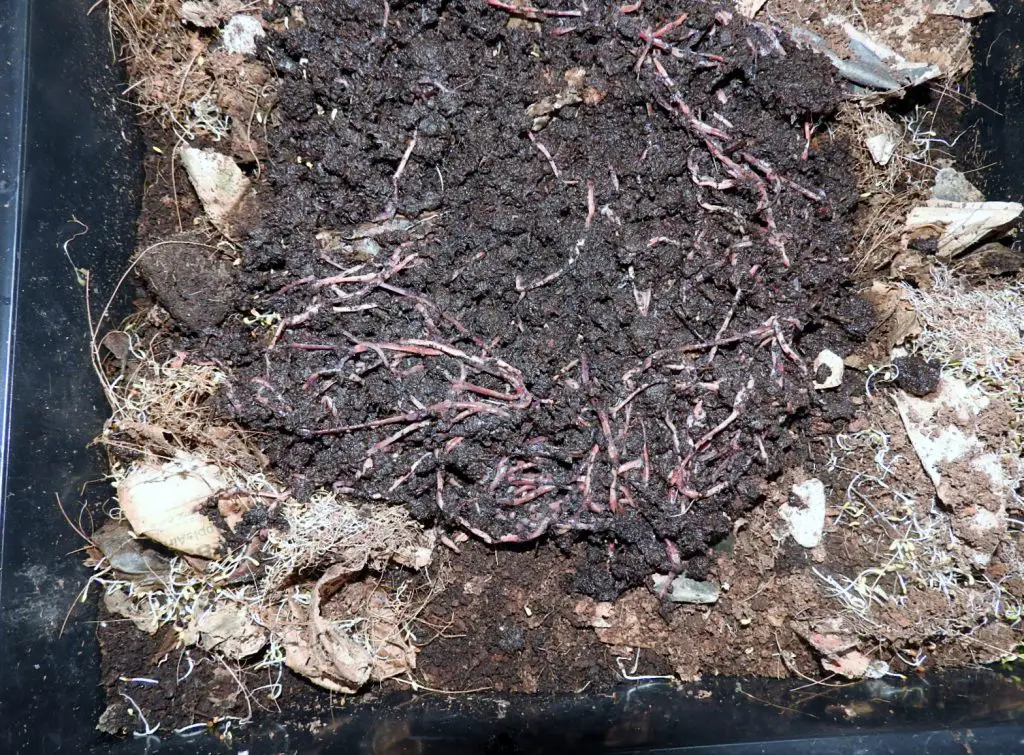
Feeding the Worms
Finally, it’s feeding time. Add your kitchen scraps to the bin, burying them under the bedding material.
It’s best to start with a small amount of food and gradually increase as your worm population grows.
Remember, worms eat their body weight in food each day, so keep an eye on how quickly the food is being consumed and adjust accordingly.
Maintaining Your Worm Composting Bin

Once you’ve set up your worm compost bin, whether you’ve bought one or built it yourself, the next step is maintenance.
Now, don’t let the word ‘maintenance’ scare you. Taking care of your worm bin is not a complicated task, and it can be quite rewarding.
It’s all about creating a comfortable environment for your worms to thrive and do their job.
So, let’s dive into the essentials of maintaining your worm composting bin.
Ideal Feeding Schedule and Diet
Feeding your worms is more of an art than a science. The general rule of thumb is that worms can eat about half their body weight in food each day.
So, if you have a pound of worms, you’ll want to feed them about half a pound of kitchen scraps daily.
However, it’s best to start slow, observe how quickly the food is consumed, and adjust accordingly.
As for the diet, worms love fruit and vegetable scraps, coffee grounds, and eggshells.
Avoid feeding them dairy, meat, oily foods, or anything spicy.
And remember, smaller pieces decompose faster, so feel free to chop up those scraps before adding them to the bin.
Moisture Management
Maintaining the right moisture level in your worm bin is crucial. The bedding should be as moist as a wrung-out sponge.
If it’s too dry, add some water. If it’s too wet, add more bedding material to soak up the excess moisture.
Remember, proper drainage is key to preventing a soggy worm bin.
Dealing with Common Problems
Like any new endeavor, you might run into a few hiccups along the way. Don’t worry, most issues are easy to fix.
If you notice a bad smell, it’s likely because the bin is too wet or you’re feeding the worms too much.
Adjust the moisture level and feeding schedule as needed. If you see fruit flies, bury the food scraps deeper in the bedding.
And if the worms are trying to escape, it could be due to unfavorable conditions in the bin, like improper pH or temperature.
Check these factors and adjust as necessary. Remember, a happy worm bin is a productive worm bin!
Utilizing the Compost
Now that you’ve got your worm compost bin up and running, let’s talk about the exciting part, utilizing the compost!
This nutrient-rich, earthy material is like a superfood for your plants. Whether you’re growing flowers, vegetables, or houseplants, they’re all going to love the worm compost.
So, let’s explore how you can harvest and use this black gold from your worm bin.
Harvesting Worm Castings
Harvesting worm castings is like mining for black gold. It’s a simple process that involves separating the worms from the compost.
If you’re using a stacking bin, the worms will naturally move to the upper trays as they finish composting the lower levels, making it easy to collect the compost.
If you have a single-layer bin, you can move the compost to one side and add fresh bedding and food to the other. The worms will migrate to the new food source, leaving the compost ready for collection.
Creating and Using Worm Tea
Worm tea is a liquid fertilizer made from worm castings. It’s packed with beneficial microbes and nutrients that can give your plants a boost.
To make worm tea, simply soak some worm castings in water for 24-48 hours, stirring occasionally.
Then, strain the mixture and use the liquid to water your plants. It’s like a health drink for your garden!
Using Worm Castings As A Soil Amendment
I like to use worm castings as a soil amendment. They won’t burn your plants so they are safe to mix with the soil you use for potting up or replanting vegetables or houseplants.
Benefits for Houseplants and Gardens
The benefits of using worm compost for your plants are numerous. It improves soil structure, enhances nutrient availability, and helps retain moisture.
Whether you’re using it for houseplants or in your garden, worm compost can help your plants thrive.
It’s especially beneficial for growing vegetables, as it can increase yield and improve the taste.
So, by setting up a worm compost bin, you’re not just reducing waste; you’re also creating a valuable resource for your plants.
Setting Up a Worm Compost Bin FAQs
Embarking on your worm composting journey can come with a few questions. It’s a new experience, after all!
But don’t worry, we’ve got you covered. We’ve compiled some of the most frequently asked questions about setting up and maintaining a worm compost bin.
So, let’s dive in and clear up any uncertainties you might have about this fascinating process.
Q: What type of worms are best for composting?
A: The best type of worms for composting are red wigglers (Eisenia fetida).
They thrive in compost bin conditions and are voracious eaters, making them perfect for breaking down your kitchen scraps into nutrient-rich compost.
Q: How much food should I feed my worms?
A: As a general rule, worms can eat about half their body weight in food each day.
However, it’s best to start slow and observe how quickly the food is consumed.
If you notice the food is disappearing quickly, you can gradually increase the amount.
Q: What do I do if my worm bin is too dry or too wet?
A: Maintaining the right moisture level is crucial for a healthy worm bin.
If the bin is too dry, you can add a bit of water. If it’s too wet, add more bedding material to soak up the excess moisture.
The bedding should feel like a wrung-out sponge.
Q: Can I use my worm compost bin indoors?
A: Absolutely! One of the great things about worm composting is that it can be done indoors.
A worm compost bin doesn’t take up much space, doesn’t smell if managed correctly, and is a perfect composting solution for all seasons.
It’s especially useful for those living in apartments or places with limited outdoor space.
Setting Up a Worm Compost Bin Conclusion
As we wrap up our guide on vermicomposting and setting up a worm compost bin, it’s time to reflect on what we’ve learned and look forward to the journey ahead.
Whether you’re an experienced gardener or a beginner, worm composting is a rewarding practice that benefits not just your plants, but also the environment.
So, let’s round up the key takeaways and inspire you to embark on this eco-friendly adventure.
Recap of the Benefits and Process
We’ve covered a lot of ground in this guide, haven’t we?
We’ve learned about the environmental benefits of worm composting, from reducing waste to creating nutrient-rich compost for our plants.
We’ve explored the process of setting up a worm compost bin, whether by buying a ready-made one or building our own.
We’ve delved into the maintenance of the bin, from feeding schedules to moisture management.
And we’ve answered some common questions that might pop up along the way.
Encouragement for Readers to Start Their Own Worm Compost Bin
Now, it’s your turn to take the leap and start your own worm composting journey.
Remember, it’s not just about the end product, but also about the process.
It’s about connecting with nature, reducing waste, and creating something valuable from what we usually throw away.
So, why not give it a try? You might be surprised by how rewarding and enjoyable worm composting can be.
And remember, every little step towards a more sustainable lifestyle makes a big difference. Happy composting!


")


